第 12 章:密码更改与重置
在本章中,我们将通过添加密码更改和密码重置功能来完善 Newspaper 应用的授权流程。我们将实现 Django 内置的密码更改和重置视图与 URL,然后使用我们自己的 Bootstrap 模板对其进行自定义。
密码更改
许多网站允许用户更改密码,Django 提供了一个默认实现,在这个阶段已经可以使用了。要试一试,请点击"Log In"按钮确保你已登录。然后,导航到 http://127.0.0.1:8000/accounts/password_change/ 的"Password change"页面。
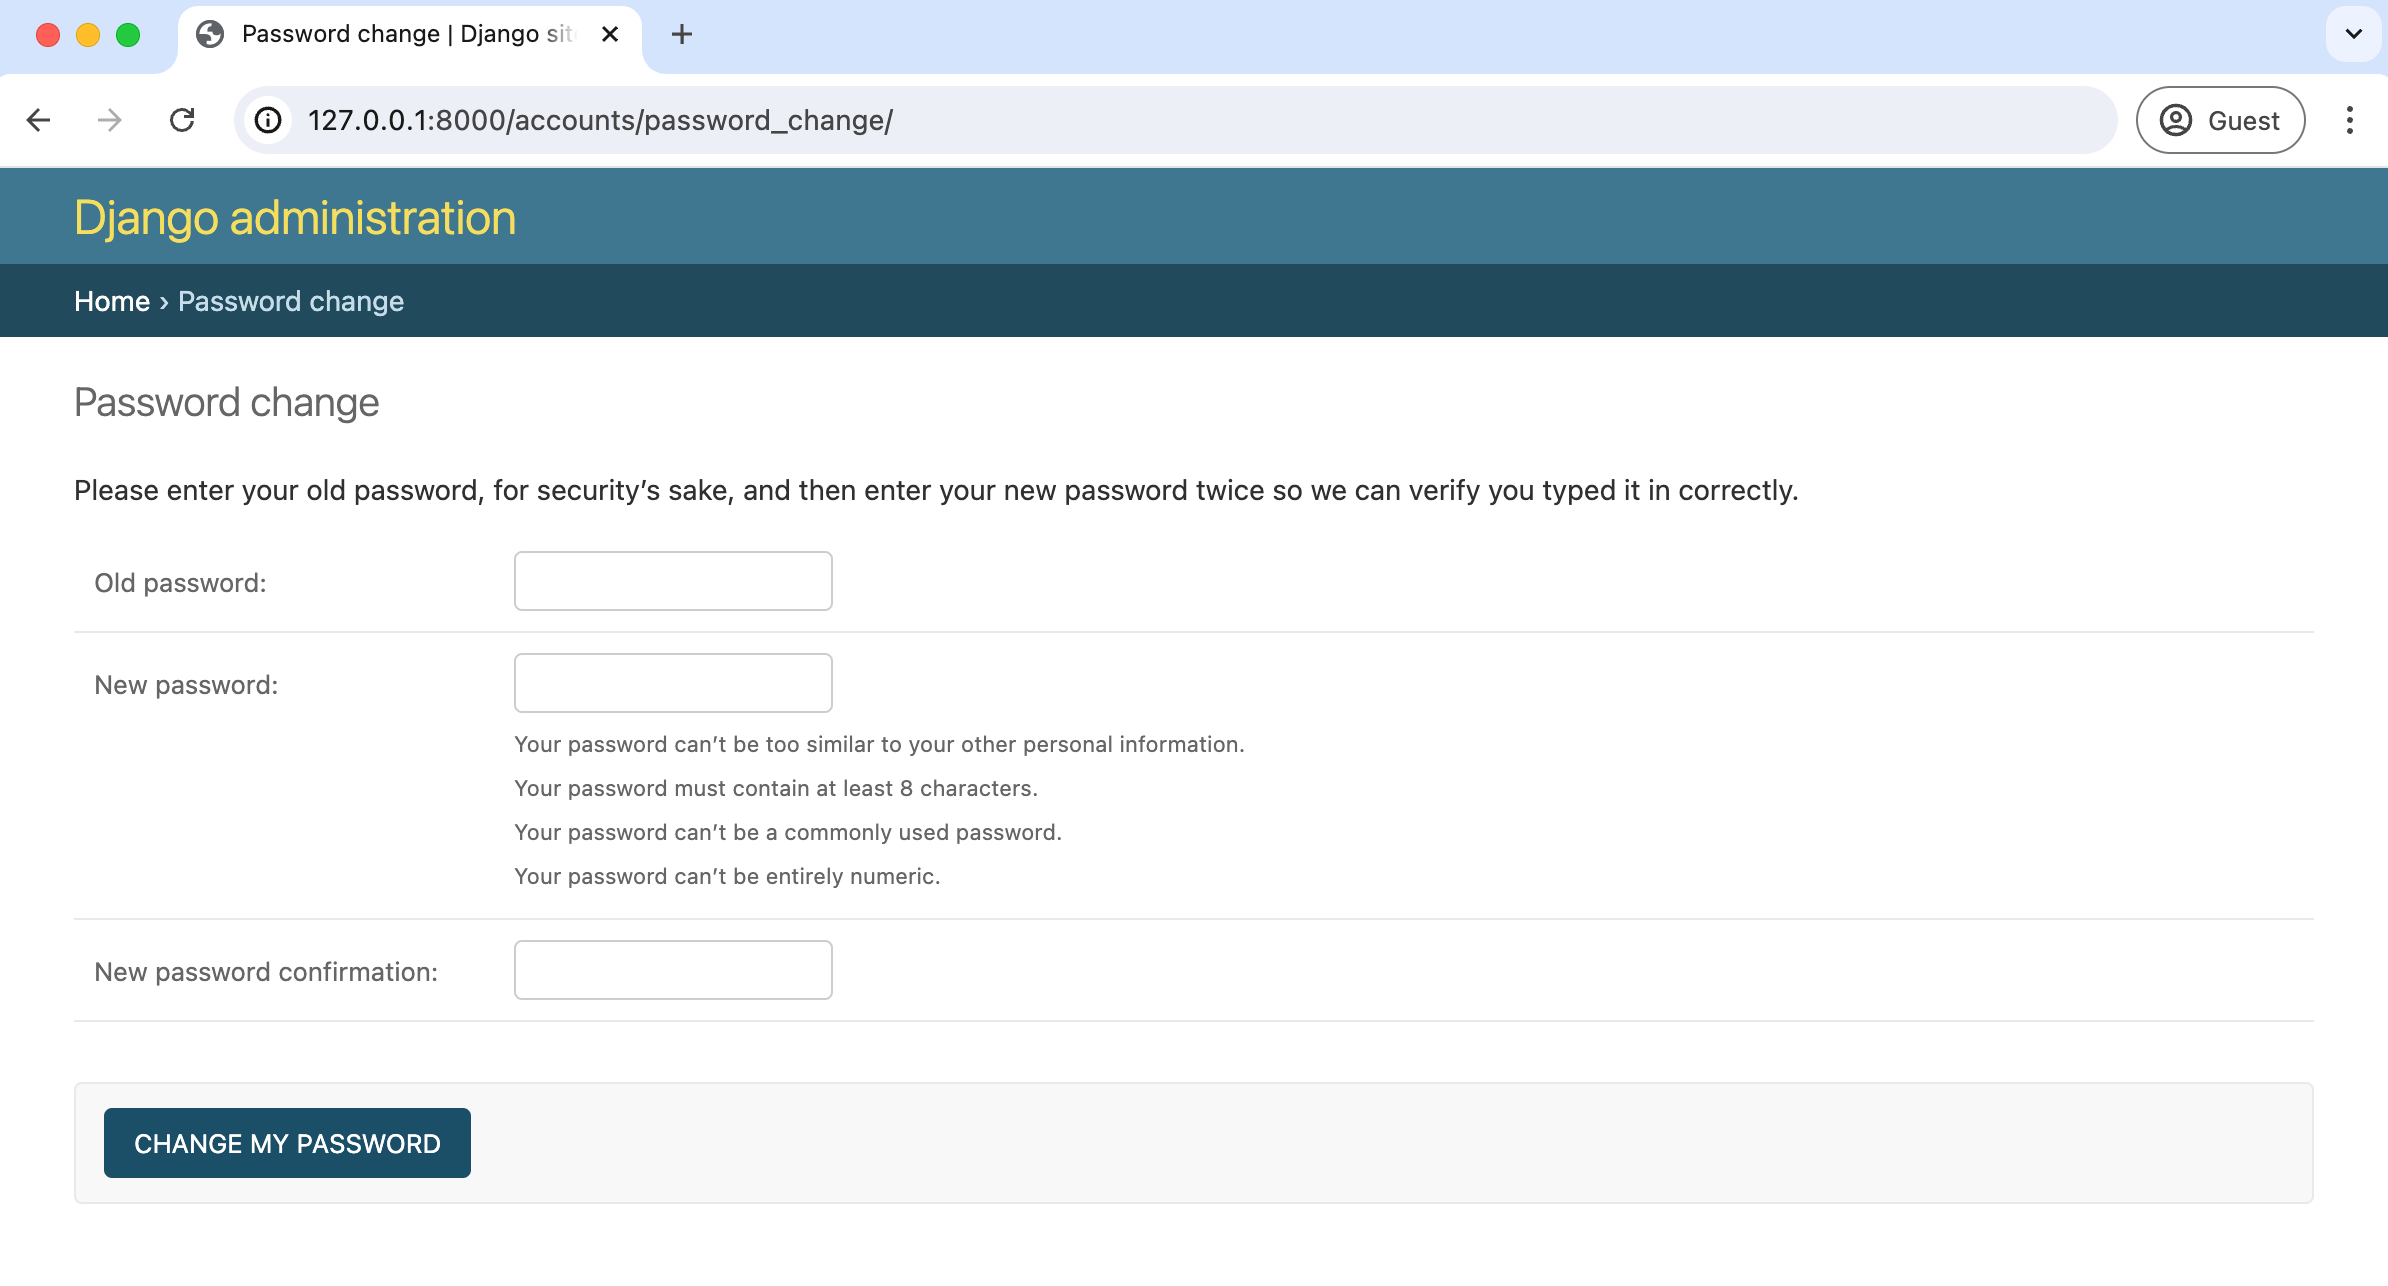
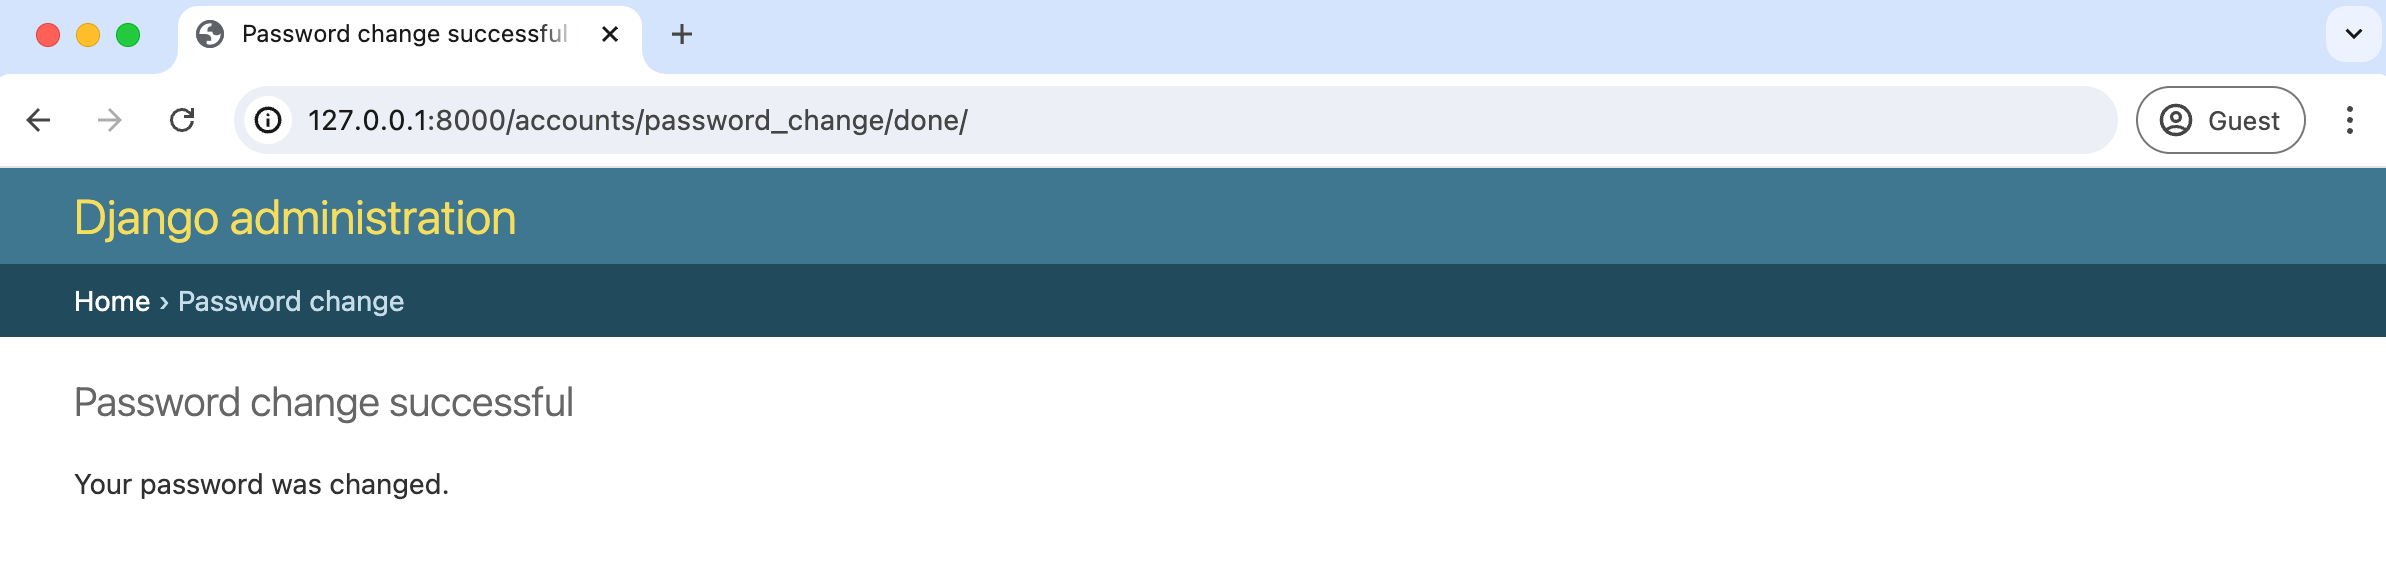
输入你的旧密码和新密码。然后点击"Change My Password"按钮,你将被重定向到"Password change successful"页面。
自定义密码更改
让我们自定义这两个密码更改页面,使其与 Newspaper 网站的整体风格保持一致。由于 Django 已经为我们创建了视图和 URL,我们只需要更改模板;但是,我们必须使用 password_change_form.html 和 password_change_done.html 这两个文件名。在你的文本编辑器中,在 registration 目录下创建两个新的模板文件:
templates/registration/password_change_form.htmltemplates/registration/password_change_done.html
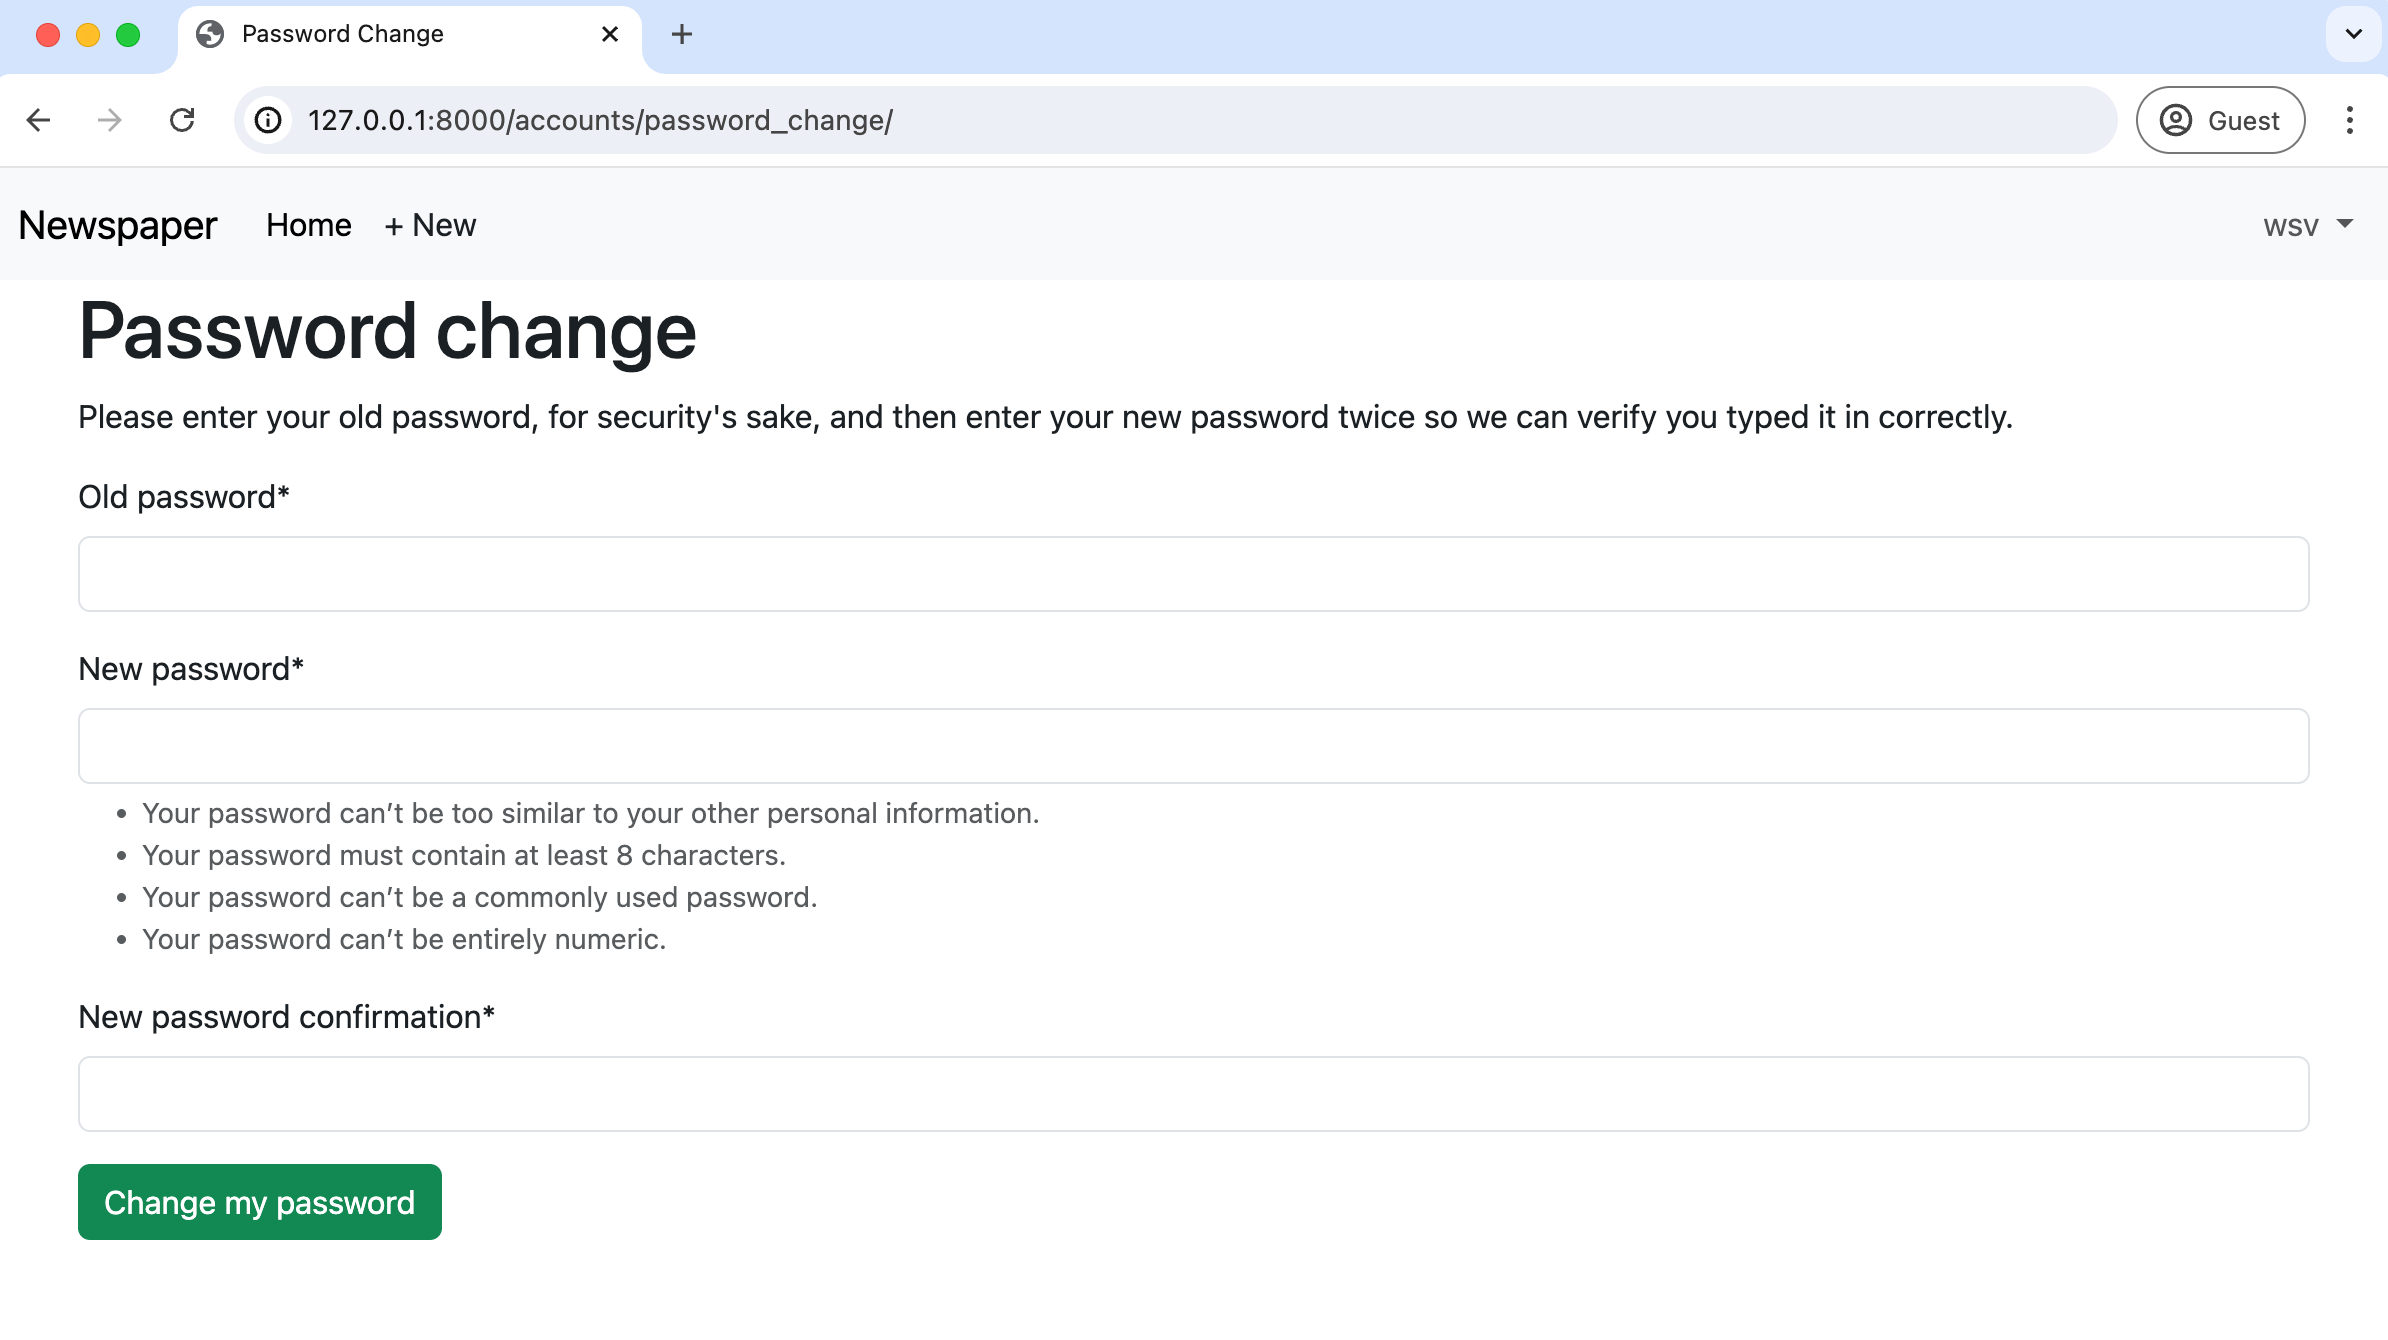
使用以下代码更新 password_change_form.html。在顶部,我们扩展 base.html,加载 crispy forms,并设置页面的 meta title,它显示在浏览器标签页中但不会显示在可见的网页本身上。表单使用 POST 方法因为我们是在发送数据,出于安全原因使用 csrf_token,并使用 {{ form|crispy }} 来应用 crispy forms 样式。最后,我们添加了一个提交按钮,使用 Bootstrap 的 btn btn-success 样式使其显示为绿色。
<!-- templates/registration/password_change_form.html -->
{% extends "base.html" %}
{% load crispy_forms_tags %}
{% block title %}Password Change{% endblock title %}
{% block content %}
<h1>Password change</h1>
<p>Please enter your old password, for security's sake, and then enter
your new password twice so we can verify you typed it in correctly.</p>
<form method="POST">{% csrf_token %}
{{ form|crispy }}
<input class="btn btn-success" type="submit"
value="Change my password">
</form>
{% endblock content %}
加载 http://127.0.0.1:8000/accounts/password_change/) 页面来查看我们的更改。
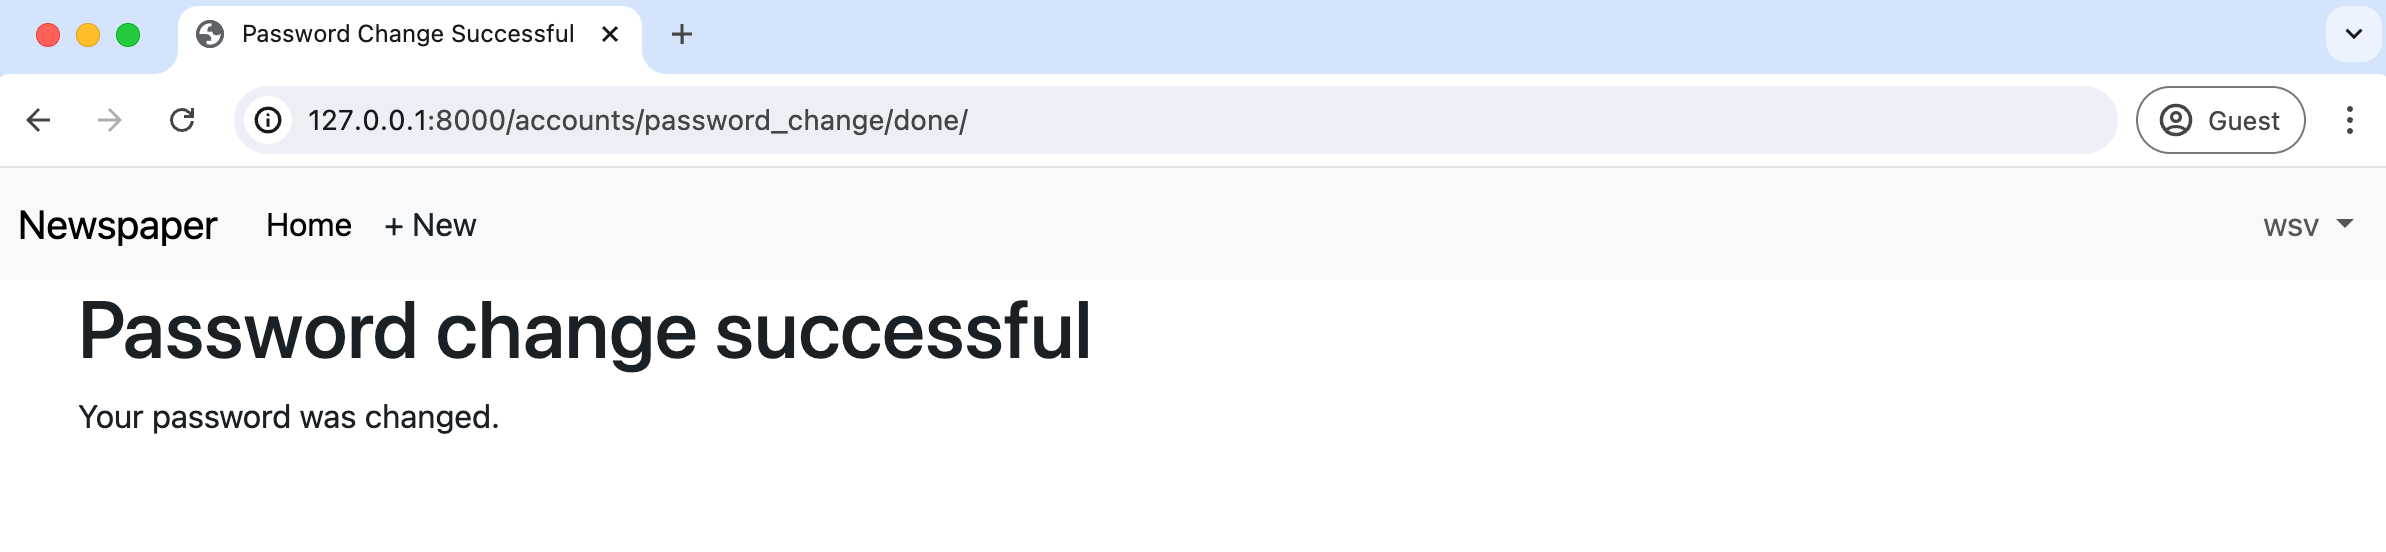
接下来是 password_change_done 模板。它同样扩展了 base.html 并包含一个新的 meta title;但是,页面上没有表单,只有新的文本。
<!-- templates/registration/password_change_done.html -->
{% extends "base.html" %}
{% block title %}Password Change Successful{% endblock title %}
{% block content %}
<h1>Password change successful</h1>
<p>Your password was changed.</p>
{% endblock content %}
这个更新后的页面位于:http://127.0.0.1:8000/accounts/password_change/done/
这不算太难,对吧?当然,比起从零开始创建所有内容要少得多工作,特别是安全更新用户密码相关的所有代码。接下来是密码重置功能。
密码重置
密码重置处理用户忘记密码的典型情况。这些步骤与我们刚才配置密码更改非常相似。Django 已经提供了我们将使用的默认实现,然后我们将自定义模板以匹配网站其余部分的外观。

唯一需要的配置是告诉 Django 如何发送电子邮件。毕竟,用户只有在能访问与账户关联的电子邮件时才能重置密码。出于测试目的,我们可以依赖 Django 的 console backend 设置,它将电子邮件文本输出到我们的命令行控制台。
在 django_project/settings.py 文件底部添加以下一行代码。
# django_project/settings.py
EMAIL_BACKEND = "django.core.mail.backends.console.EmailBackend"  # new
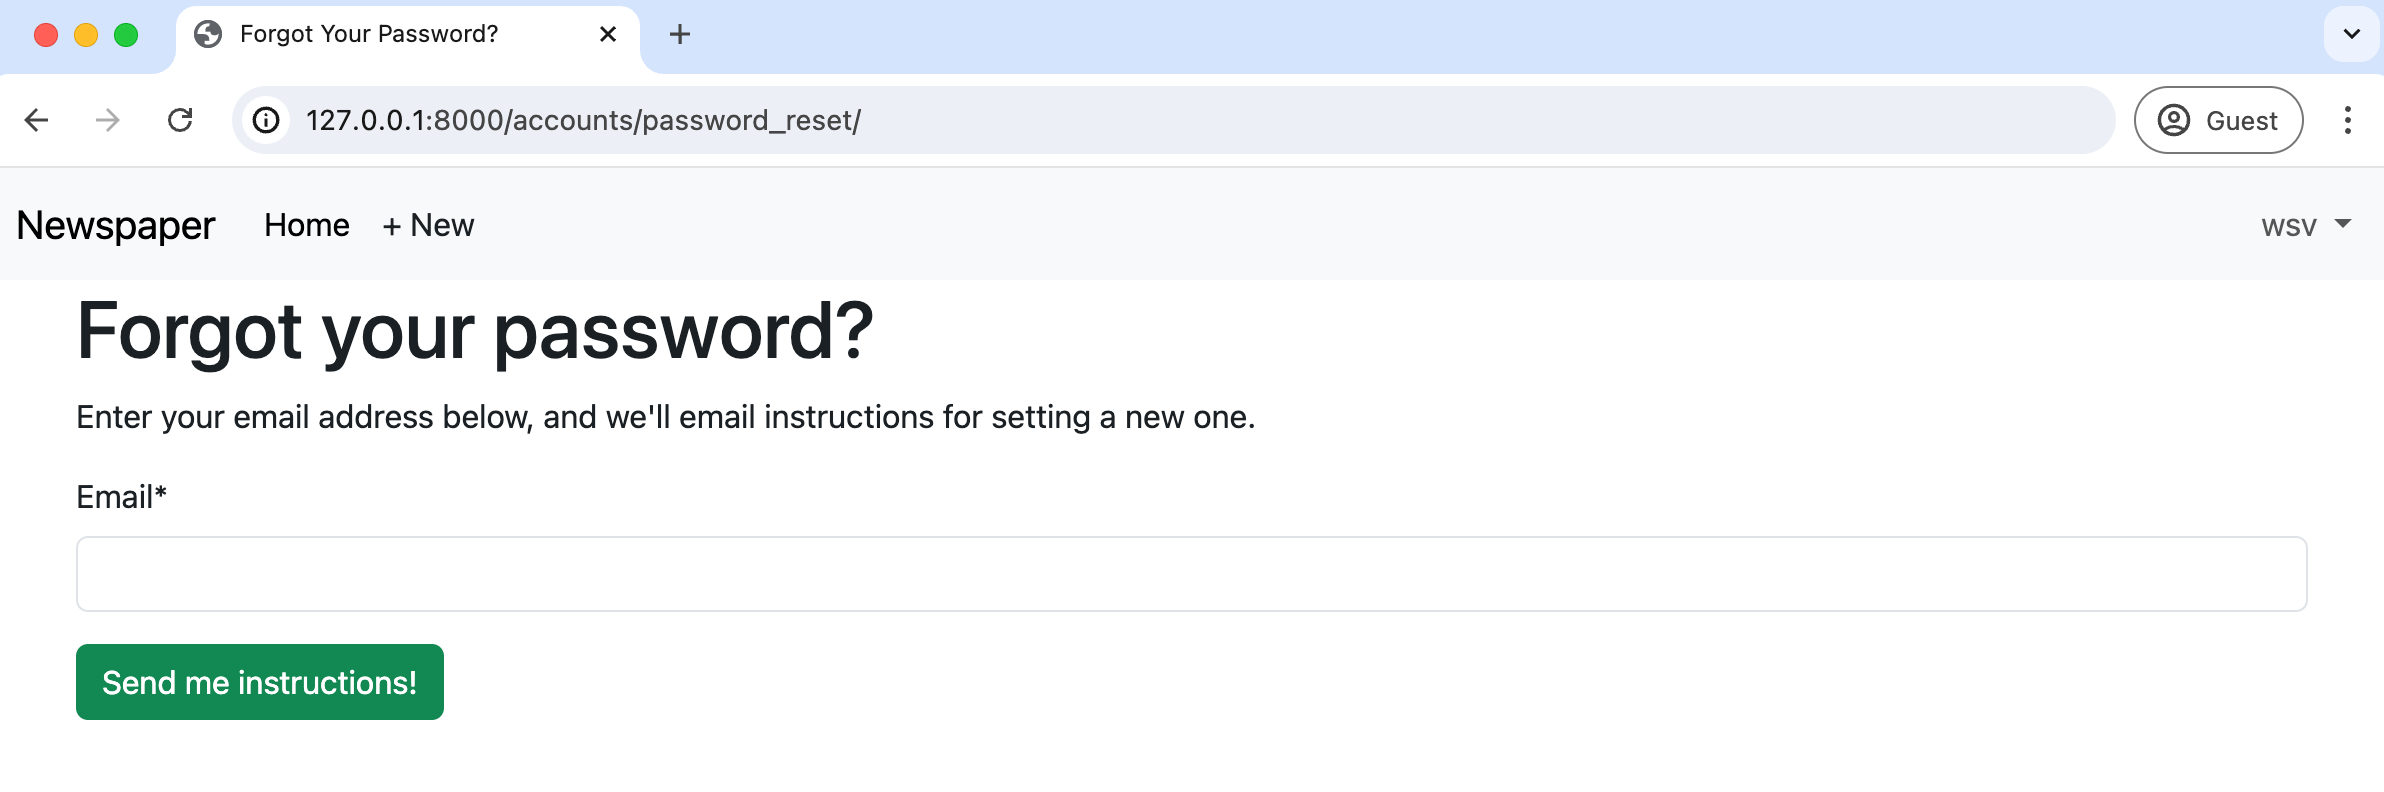
一切都准备好了!Django 会为我们处理剩下的所有事情。让我们来试试。导航到 http://127.0.0.1:8000/accounts/password_reset/ 查看默认的密码重置页面。
确保你输入的电子邮件地址与你现有的用户账户之一匹配。回想一下,testuser 没有关联的电子邮件账户,所以你应该使用 testuser2,如果你按照我的示例,它的电子邮件地址是 testuser2@email.com。提交后,你将被重定向到密码重置完成页面:
http://127.0.0.1:8000/accounts/password_reset/done/
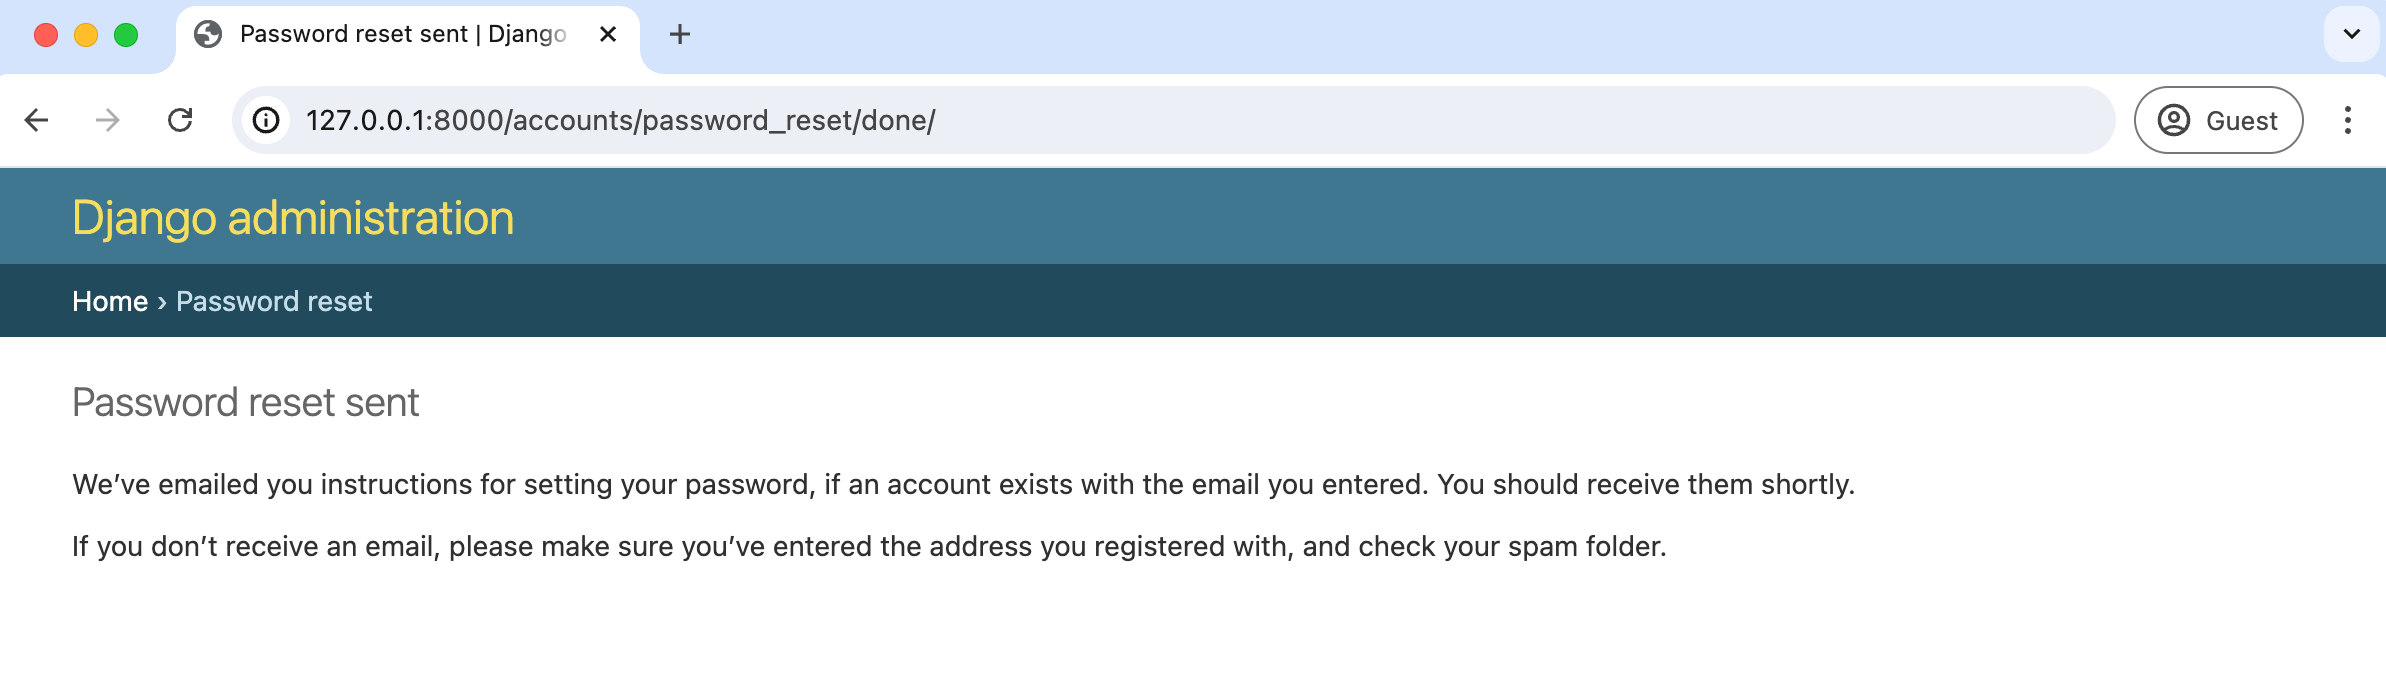
这个页面提示我们检查电子邮件。由于我们已经告诉 Django 将电子邮件发送到命令行控制台,电子邮件文本现在会出现在那里。在我的控制台中,我看到以下内容:
Content-Type: text/plain; charset="utf-8"
MIME-Version: 1.0
Content-Transfer-Encoding: 8bit
Subject: Password reset on 127.0.0.1:8000
From: webmaster@localhost
To: testuser2@email.com
Date: Fri, 28 Jun 2024 15:36:30 -0000
Message-ID:
<168235059067.94136.7639058137157368290@1.0.0.0.0....0.0.0.ip6.arpa>
You're receiving this email because you requested a password reset for your user
account at 127.0.0.1:8000.
Please go to the following page and choose a new password:
http://127.0.0.1:8000/accounts/reset/Mw/bn63cu-b77b6590a2e38a75c4b2af244c40297e/
Your username, in case you've forgotten: testuser2
Thanks for using our site!
The 127.0.0.1:8000 team
-------------------------------------------------------------------------------
[11/Jun/2024 15:36:30] "POST /accounts/password_reset/ HTTP/1.1" 302 0
[11/Jun/2024 15:36:30] "GET /accounts/password_reset/done/ HTTP/1.1" 200 3014
你的电子邮件文本应该完全相同,除了三行:
- 第六行的"To"包含用户的电子邮件地址
- URL 链接包含 Django 为我们随机生成的安全令牌,只能使用一次
- 用户名,Django 贴心地提醒我们
我们稍后会自定义所有默认的电子邮件文本,但现在,请专注于找到提供的链接并在浏览器中输入它。在这个示例中,我的链接是:
http://127.0.0.1:8000/accounts/reset/Mw/bn63cu-b77b6590a2e38a75c4b2af244c40297e/
你将被重定向到"Password reset confirmation"页面。
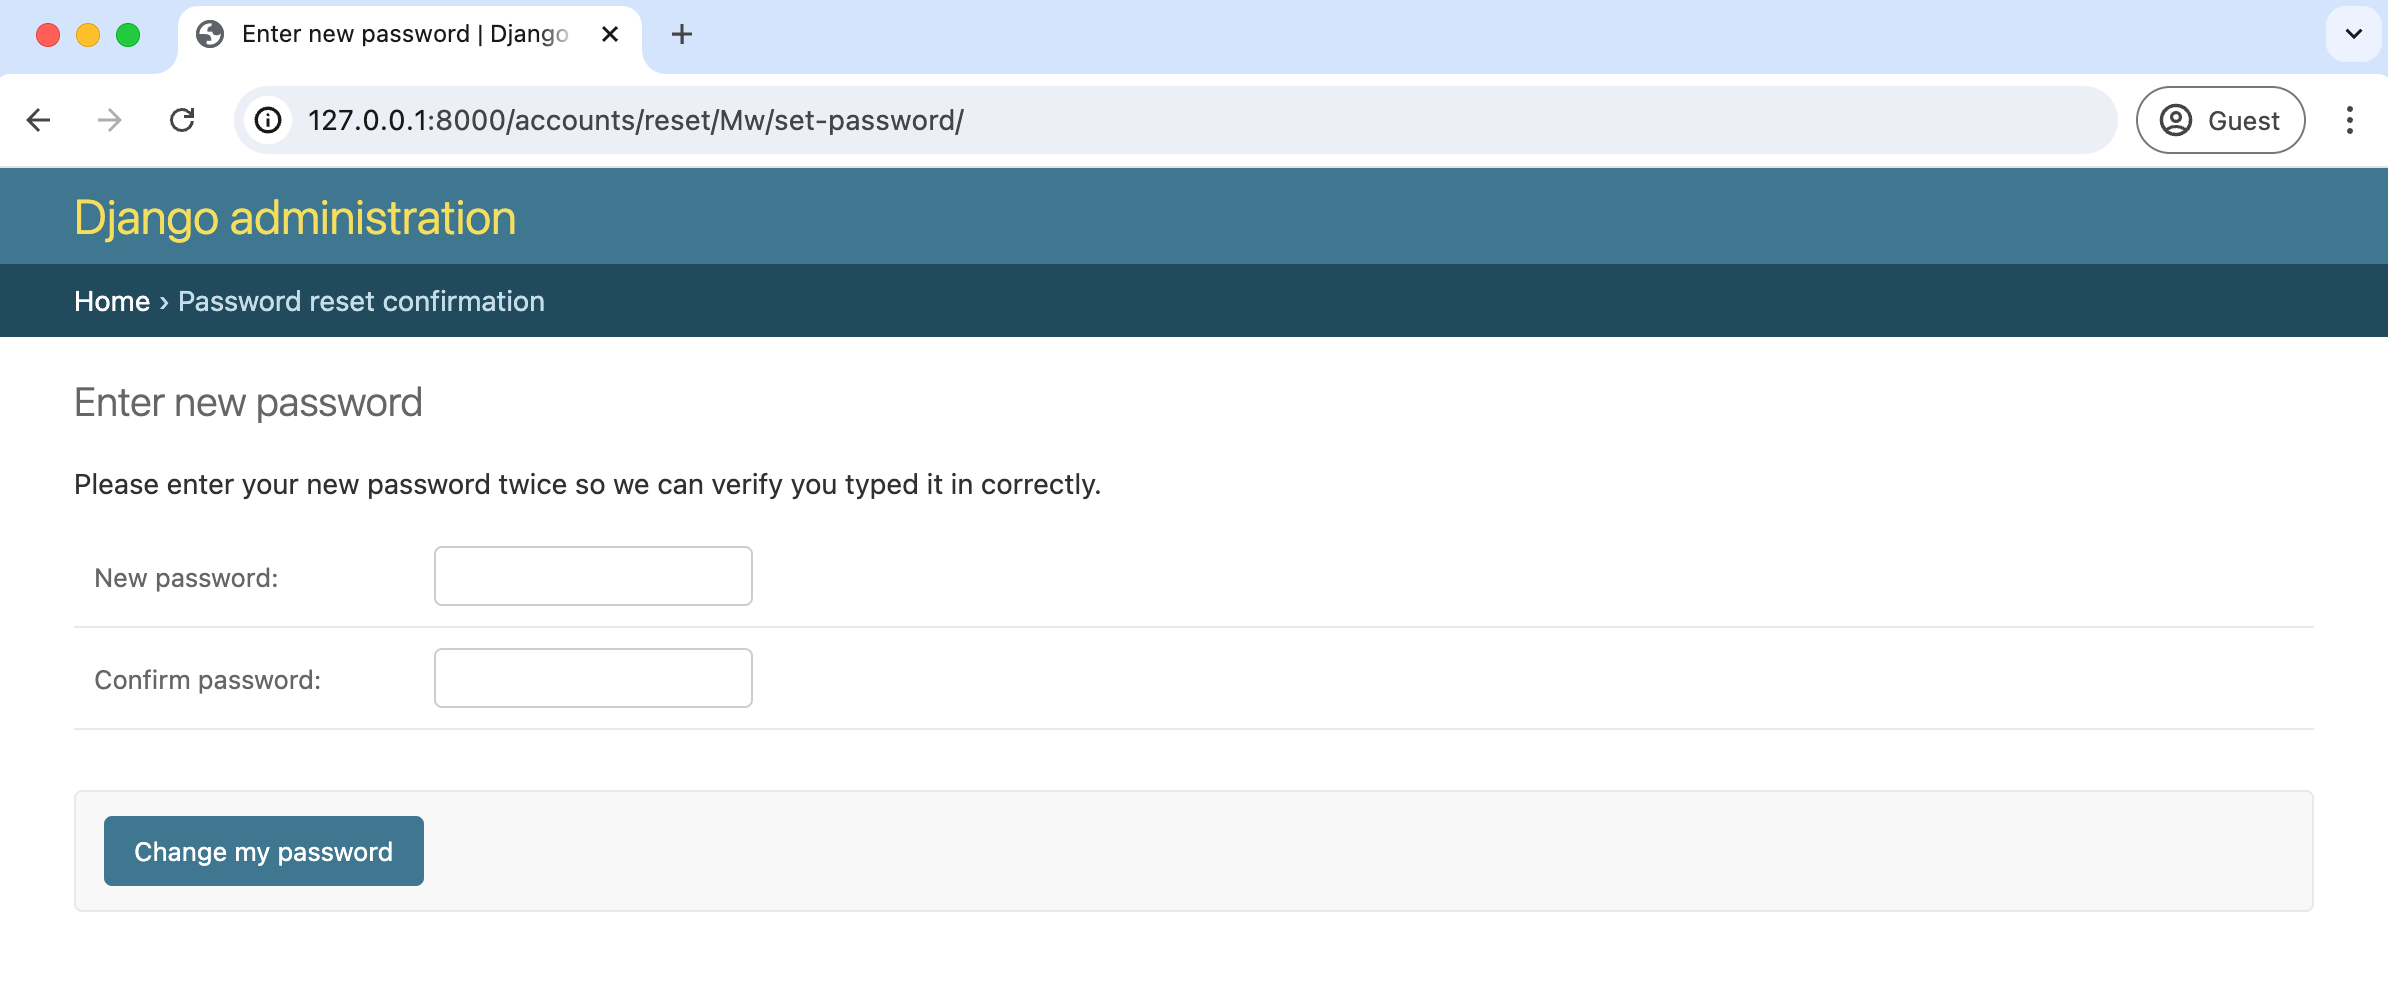
输入新密码并点击"Change my password"按钮。最后一步会将你重定向到"Password reset complete"页面。
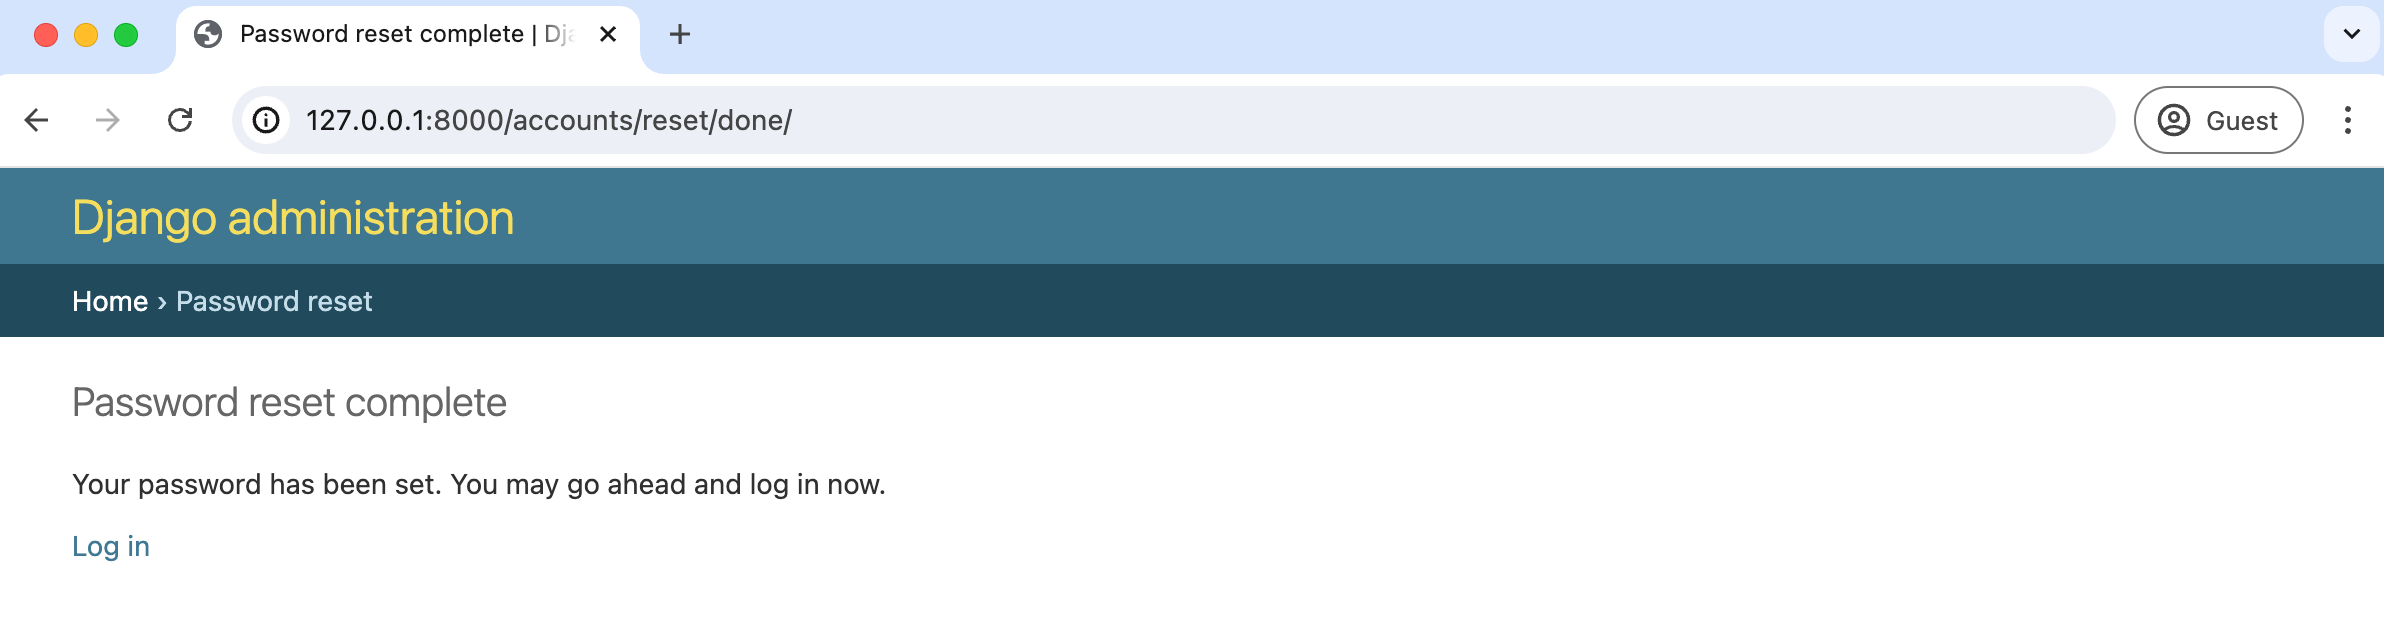
要确认一切正常,点击"Log in"链接并使用你的新密码。它应该可以正常工作。
自定义模板
与密码更改页面一样,我们可以创建新模板来自定义整个密码重置流程的外观。如果你注意到了,一共使用了四个单独的模板。现在在你的 templates/registration/ 目录中创建这些新文件。
templates/registration/password_reset_form.htmltemplates/registration/password_reset_done.htmltemplates/registration/password_reset_confirm.htmltemplates/registration/password_reset_complete.html
从密码重置表单开始,即 password_reset_form.html。在顶部,我们扩展 base.html,加载 crispy_forms_tags,并设置 meta 页面标题。因为我们在 base.html 文件中使用了"block"标题,所以可以在这里覆盖它们。表单使用 POST 方法因为我们是在发送数据,出于安全原因使用 csrf_token,并使用 {{ form|crispy }} 来渲染表单。我们再次将提交按钮更新为绿色。到了这一步,更新这些模板页面应该开始变得熟悉了。
<!-- templates/registration/password_reset_form.html -->
{% extends "base.html" %}
{% load crispy_forms_tags %}
{% block title %}Forgot Your Password?{% endblock title %}
{% block content %}
<h1>Forgot your password?</h1>
<p>Enter your email address below, and we'll email instructions
for setting a new one.</p>
<form method="POST">{% csrf_token %}
{{ form|crispy }}
<input class="btn btn-success" type="submit"
value="Send me instructions!">
</form>
{% endblock content %}
使用 python manage.py runserver 重新启动服务器,然后导航到:
http://127.0.0.1:8000/accounts/password_reset/
刷新页面,你将看到我们的新页面。
现在我们可以更新其他三个页面。每个页面都涉及扩展 base.html、设置新的 meta 标题和添加新的内容文本。当涉及表单时,我们切换为加载和使用 crispy forms。
让我们从 password_reset_done.html 模板开始。
<!-- templates/registration/password_reset_done.html -->
{% extends "base.html" %}
{% block title %}Email Sent{% endblock title %}
{% block content %}
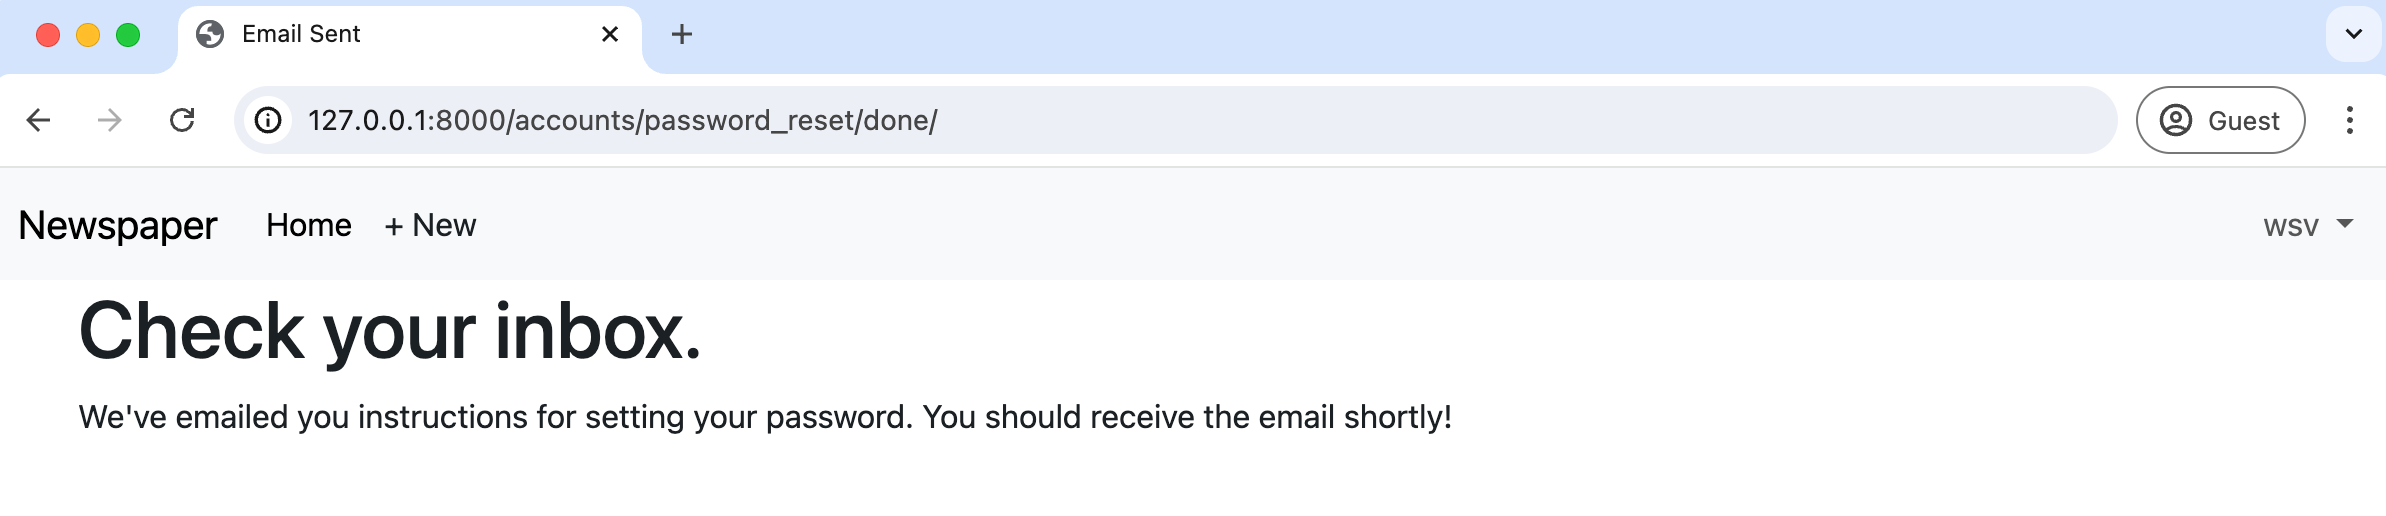
<h1>Check your inbox.</h1>
<p>We've emailed you instructions for setting your password.
You should receive the email shortly!</p>
{% endblock content %}
通过访问 http://127.0.0.1:8000/accounts/password_reset/done/ 来确认更改。
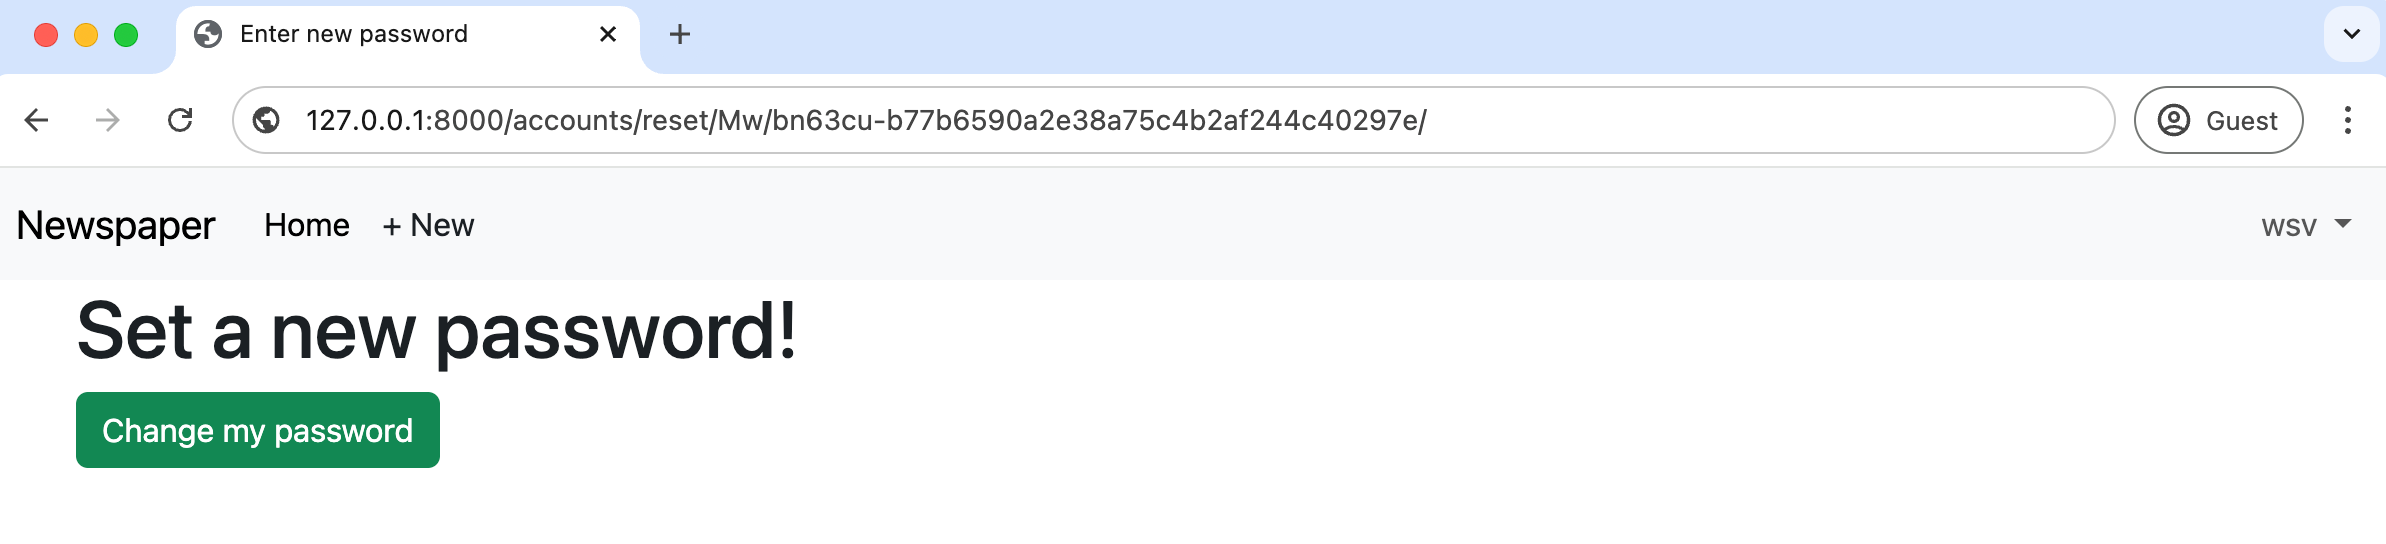
接下来是 password_reset_confirm.html。注意它包含一个表单,所以我们将在这里使用 crispy forms。
<!-- templates/registration/password_reset_confirm.html -->
{% extends "base.html" %}
{% load crispy_forms_tags %}
{% block title %}Enter new password{% endblock title %}
{% block content %}
<h1>Set a new password!</h1>
<form method="POST">{% csrf_token %}
{{ form|crispy }}
<input class="btn btn-success" type="submit" value="Change my password">
</form>
{% endblock content %}
在命令行中,从之前输出到控制台的自定义电子邮件中获取 URL 链接,你将看到以下内容:
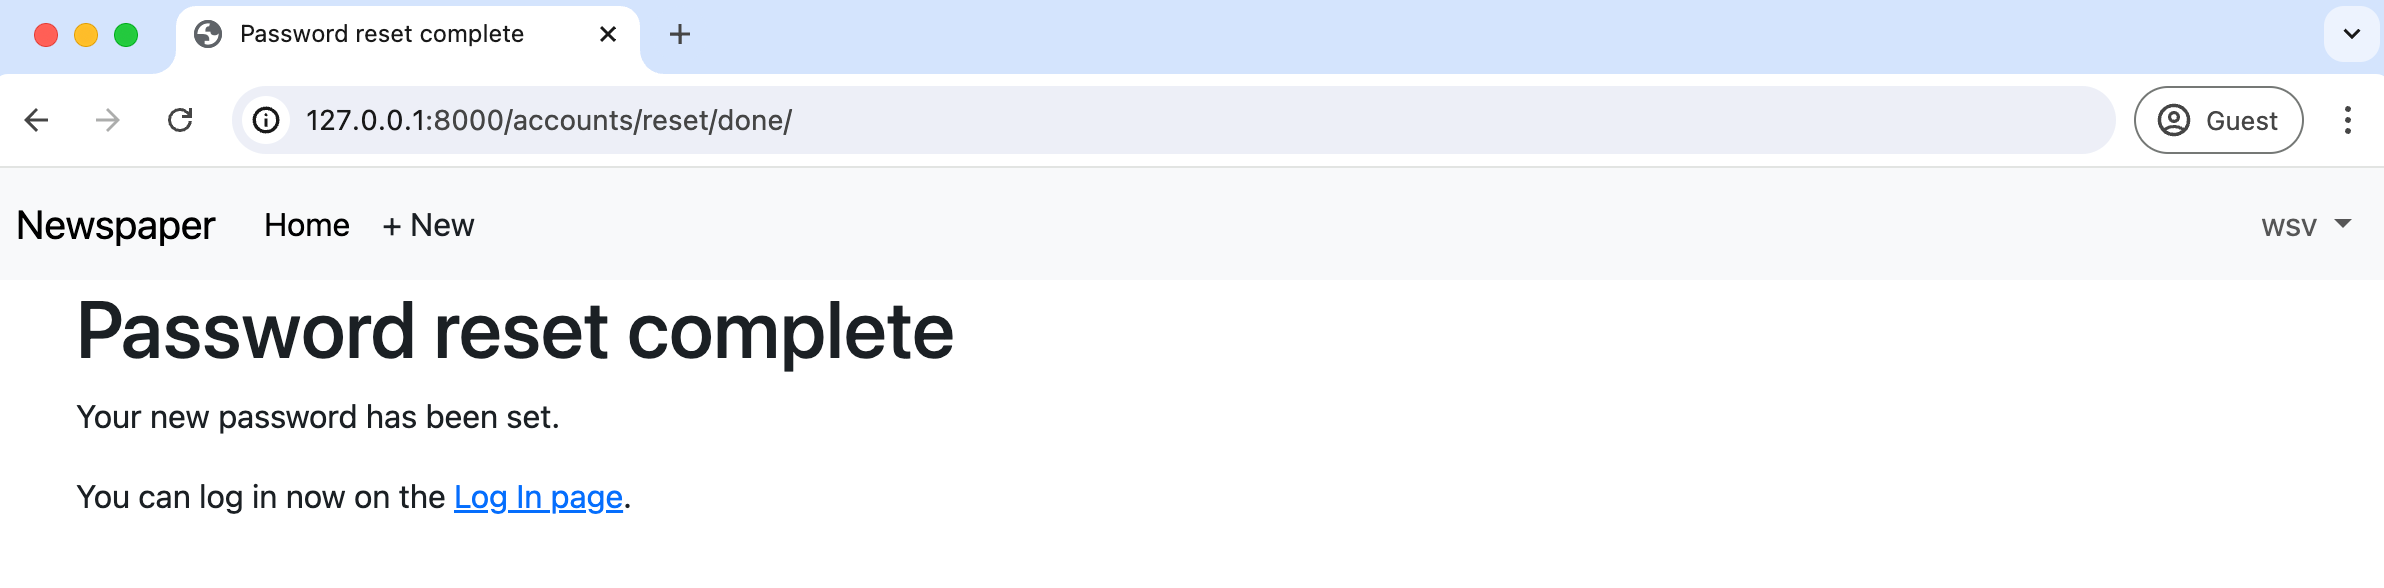
最后,这是密码重置完成的代码:
<!-- templates/registration/password_reset_complete.html -->
{% extends "base.html" %}
{% block title %}Password reset complete{% endblock title %}
{% block content %}
<h1>Password reset complete</h1>
<p>Your new password has been set.</p>
<p>You can log in now on the
<a href="{% url 'login' %}">Log In page</a>.</p>
{% endblock content %}
你可以在 http://127.0.0.1:8000/accounts/reset/done/ 查看它。
试一试
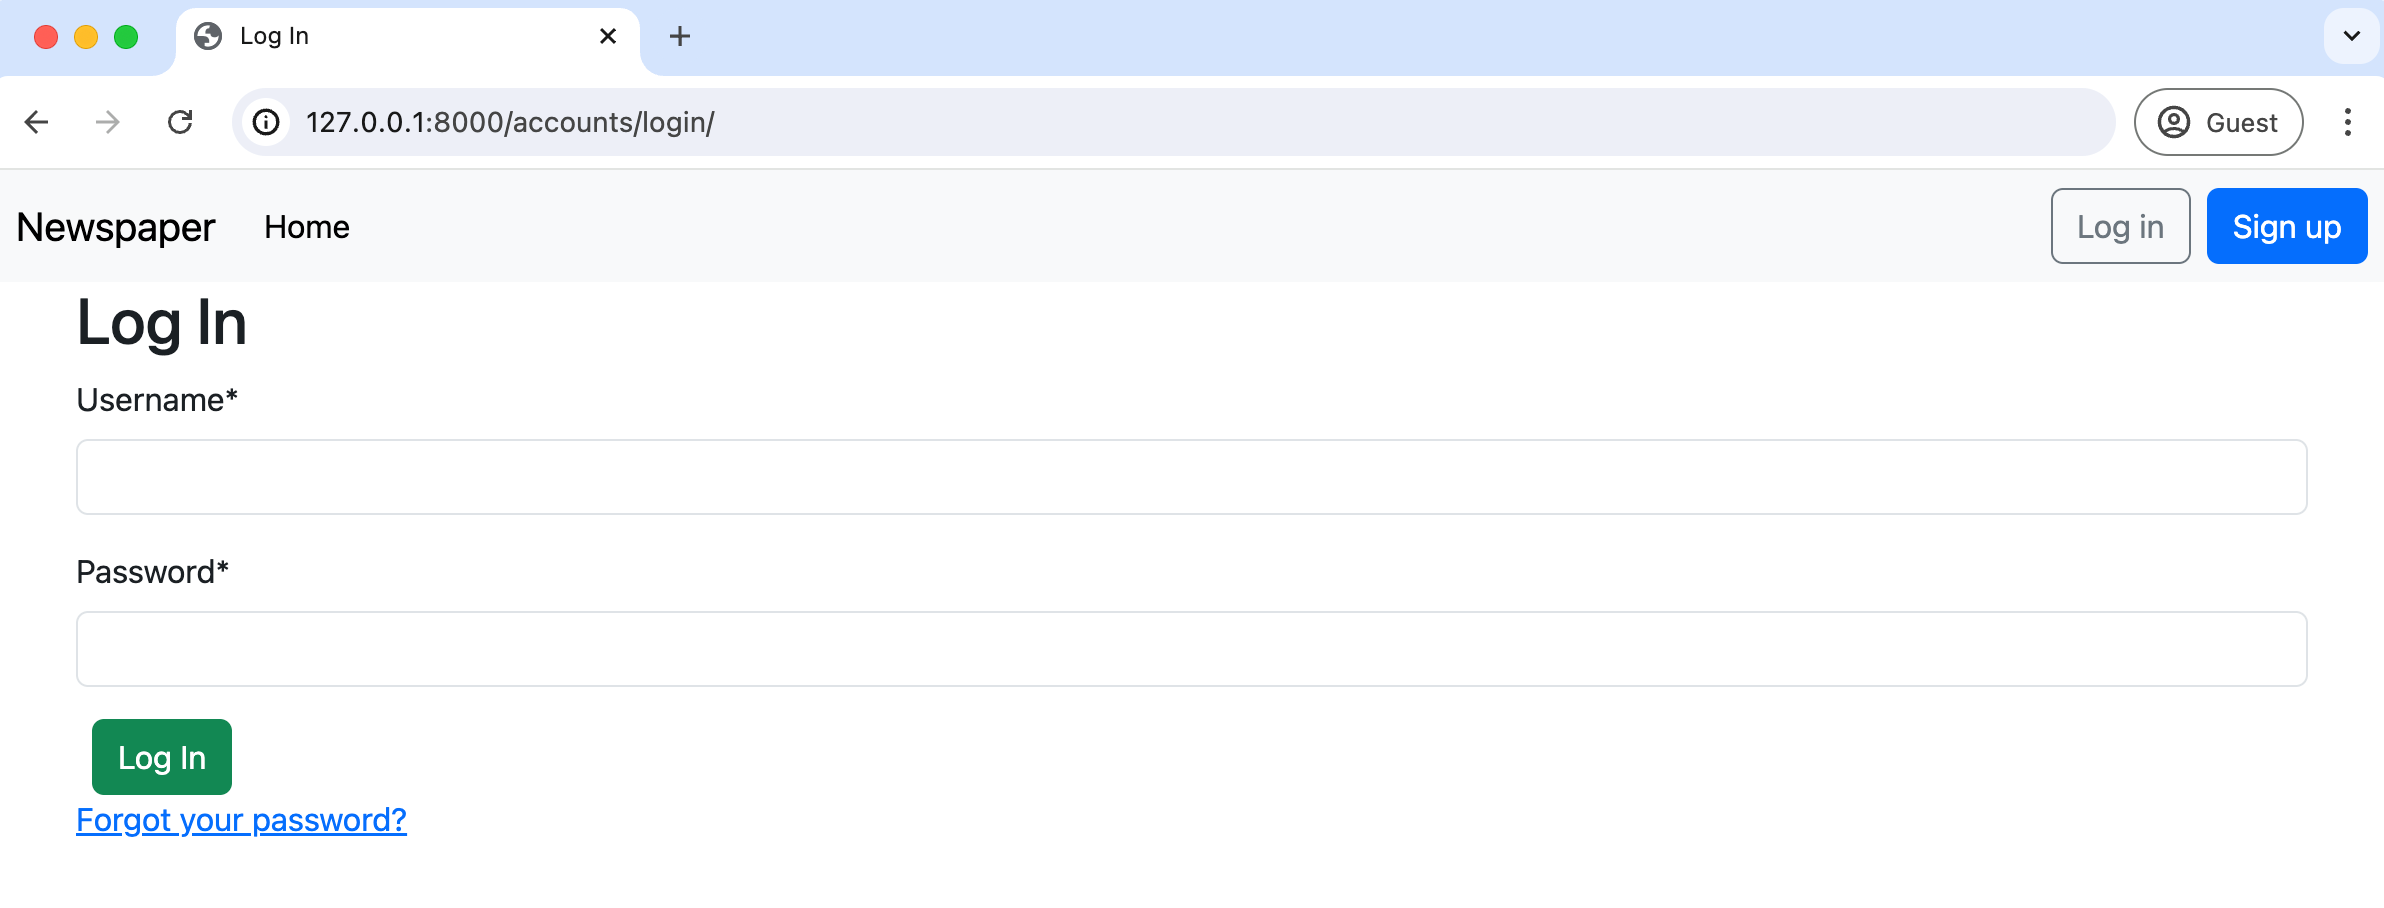
让我们通过重置 testuser2 账户的密码来确认一切正常。注销你当前的账户,然后前往登录页面——这是放置"Forgot your password?"链接的逻辑位置,该链接将用户引导至密码重置部分。让我们现在添加这个链接。
首先,我们需要将密码重置链接添加到现有的登录页面,因为我们不能假设用户知道正确的 URL!它放在表单的底部。
<!-- templates/registration/login.html -->
{% extends "base.html" %}
{% load crispy_forms_tags %}
{% block title %}Log In{% endblock title %}
{% block content %}
<h2>Log In</h2>
<form method="post">{% csrf_token %}
{{ form|crispy }}
<button class="btn btn-success ms-2" type="submit">Log In</button>
</form>
<!-- new code here -->
<p><a href="{% url 'password_reset' %}">Forgot your password?</a></p>
<!-- end new code -->
{% endblock content %}
刷新登录网页以确认新的"Forgot your password?"链接已出现。
点击该链接以调出密码重置模板,并使用 testuser2@email.com 的电子邮件完成整个流程。请记住,唯一的链接将输出到你的控制台。设置一个新密码,并用它登录 testuser2 账户。一切应该按预期运行。
Git
又完成了一块工作。在继续之前,使用 Git 保存我们的工作。
(.venv) $ git status
(.venv) $ git add -A
(.venv) $ git commit -m "password change and reset"
(.venv) $ git push origin main
结论
在下一章中,我们将构建实际的 Newspaper 应用来展示文章。